Release Update V5.4.0
The release update V5.4.0 is here! A major dashboard update, minor bug fixes and the integration of persistent variables are included.
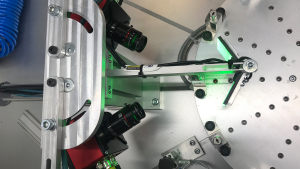
Finally: The new VIU2 PoE camera is here!
The VIU2 PoE camera is here! You can find out why PoE is an important feature in this article.
Finally: The new VIU2 PoE camera is here!
The VIU2 PoE camera is here! You can find out why PoE is an important feature in this article.
