evoVIU Dokumentation
-
Einleitung
-
Allgemeines & Sicherheit
-
Hardware
-
Software
-
- Articles coming soon
In diesem Kapitel erfahren Sie alles, was Sie über Connections wissen müssen. Mit Hilfe von Connections können Sie die nötigen Verbindungen erstellen, um Ihre Bilder zu speichern und weiterzuverarbeiten.
1. Erstellen einer Connection
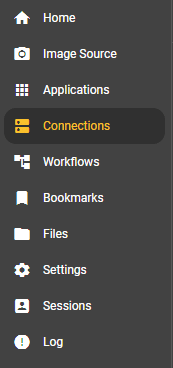
Gehen Sie zum Menüpunkt Connections und wählen Sie diesen aus.
Wenn Sie noch keine Connection hinzugefügt haben, haben Sie die Möglichkeit über den Button eine Connection hinzuzufügen.

Wenn Sie bereits eine Connection angelegt haben, landen Sie auf der Übersichtsseite. Klicken Sie auf den Add Connection Button, um eine neue Connection hinzuzufügen. Sie landen dann auf einer neuen Seite, welche Ihnen alle möglichen Connections anbietet. Klicken Sie auf die Connection, welche Sie erstellen möchten. Es öffnet sich das bereits ausgefüllte Dialog-Fenster.

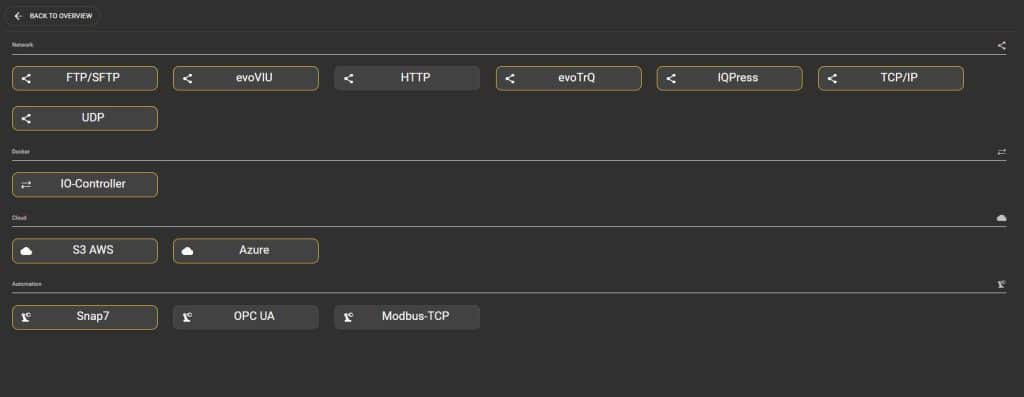
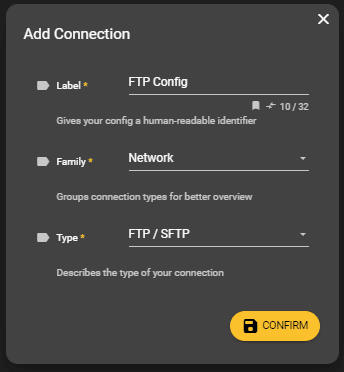
Sobald Sie auf Add Connection klicken, erscheint ein Dialogfeld. Geben Sie der Connection ein Label, weisen Sie ihr eine Connection family (Network, Docker, Cloud oder Automation) und einen Connection-Type (FTP/SFTP, evoTrQ, IQPress, IO-Controller, Azure, S3 AWS oder Snap7) zu. Klicken Sie auf Confirm, damit Ihre Connection angelegt wird.
2. Mögliche Connections
FTP/SFTP
Speichern Sie über eine FTP Connection Bilder direkt auf einem FTP Server. Geben Sie unter Configuration alle Daten an, sodass Ihr Server erreicht werden kann.
evoTrQ
Verbinden Sie die evoVIU Kamera mit Ihrem evoTrQ Bauteilnachverfolgungssystem. Geben Sie dazu unter Configuration einfach die benötigten URLs an.
IQPress
Verbinden Sie die evoVIU Kamera mit Ihrem IQPress-System. Geben Sie dazu unter Configuration einfach die benötigten Daten und URLs an.
IO-Controller
Stellen Sie für die IO-Controller Connection den Lichtmodus für externes Licht ein. Besitzt Ihre evoVIU den Docker können Sie Pin 2 und 4 für das Ansteuern und Synchronisieren von externen Licht verwenden. Wählen Sie Flash oder Permanent als Lichtmodus und stellen Sie ersterem die Flash-Zeit in Millisekunden ein.
Azure
Speichern Sie Ihre Bilder mit der Azure Connection auf der Cloud von Microsoft. Geben Sie dazu unter Configuration Ihre Domain, einen Container und einen gültigen Token an.
S3 AWS
Speichern Sie Ihre Bilder mit der S3 AWS Connection auf der Cloud von Amazon. Geben Sie dazu unter Configuration Ihren AWS Secret-Access-Key, Ihre AWS Access-Key-ID und die weiteren Daten ein.
Snap7
Geben Sie auch hier die fehlenden Daten in die Lücken ein, um Ihre Snap7 Connection aufzusetzen.
evoVIU
Sie können auch eine Verbindung zu einer weiteren evoVIU herstellen. Geben Sie dazu die Daten der zu verbindenden evoVIU ein.
