evoVIU Dokumentation
-
Hardware
-
-
- Articles coming soon
-
-
-
Software
-
- Articles coming soon
-
- Articles coming soon
-
- Articles coming soon
-
- Articles coming soon
-
- Articles coming soon
-
- Articles coming soon
-
-
Introduction
-
General & Safety
The custom routines are a relic from earlier versions of the camera. They have now been almost completely replaced by workflows. However, as some of them are still in use, the instructions remain here. However, please be aware that some components now look different or have a different name.
In this chapter, you will learn what steps you need to perform to create a custom routine. In the Custom Routine menu item, you can set how you want to further process your captured image.
To create a Custom Routine, you must be in Edit mode.
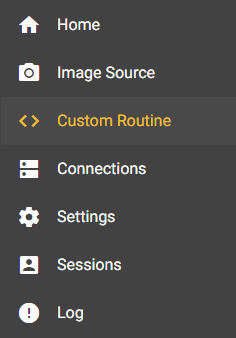
1. select menu item

Select the Custom Routine menu item.
2. new custom routine
Click the + icon in the upper right corner to add a new Custom Routine.

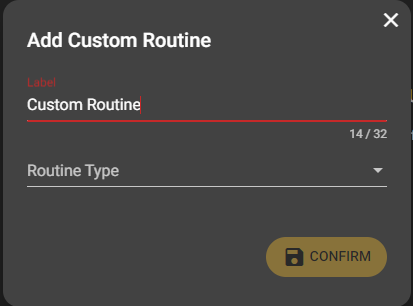
3. naming the new custom routine

A dialog box appears. Here you can give your custom routine a label and a routine type. You can choose between Maintenance, OCR, Recorder, Barcode and Weld Seam Inspection. Clicking the Confirm button will create your new Custom Routine.
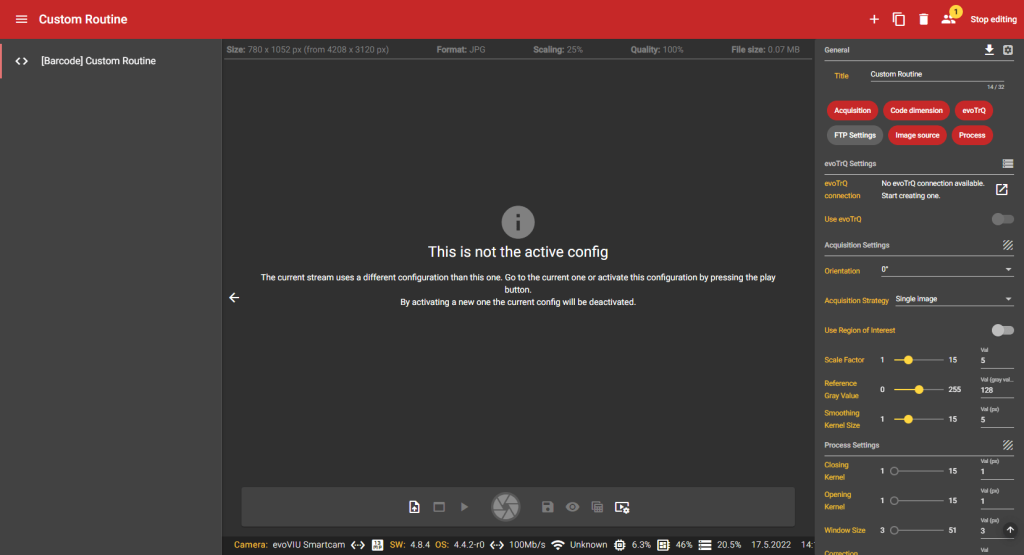
Your created Custom Routine with your chosen label now appears in the left column. Clicking on this configuration selects it and the Custom Routine Stream Area and Configuration Bar appear.


