evoVIU Dokumentation
-
Hardware
-
-
- Articles coming soon
-
-
-
Software
-
- Articles coming soon
-
- Articles coming soon
-
- Articles coming soon
-
- Articles coming soon
-
- Articles coming soon
-
- Articles coming soon
-
-
Introduction
-
General & Safety
The application section is a relic from earlier versions of the camera and was then called Custom Routine. They have now been almost completely replaced by workflows. However, as some of them are still in use, the instructions remain here. However, please be aware that some components now look different or have a different name.
In this chapter you will learn why you need the Custom Routine Stream Area and what the icons in the Control Bar mean.
1. overview
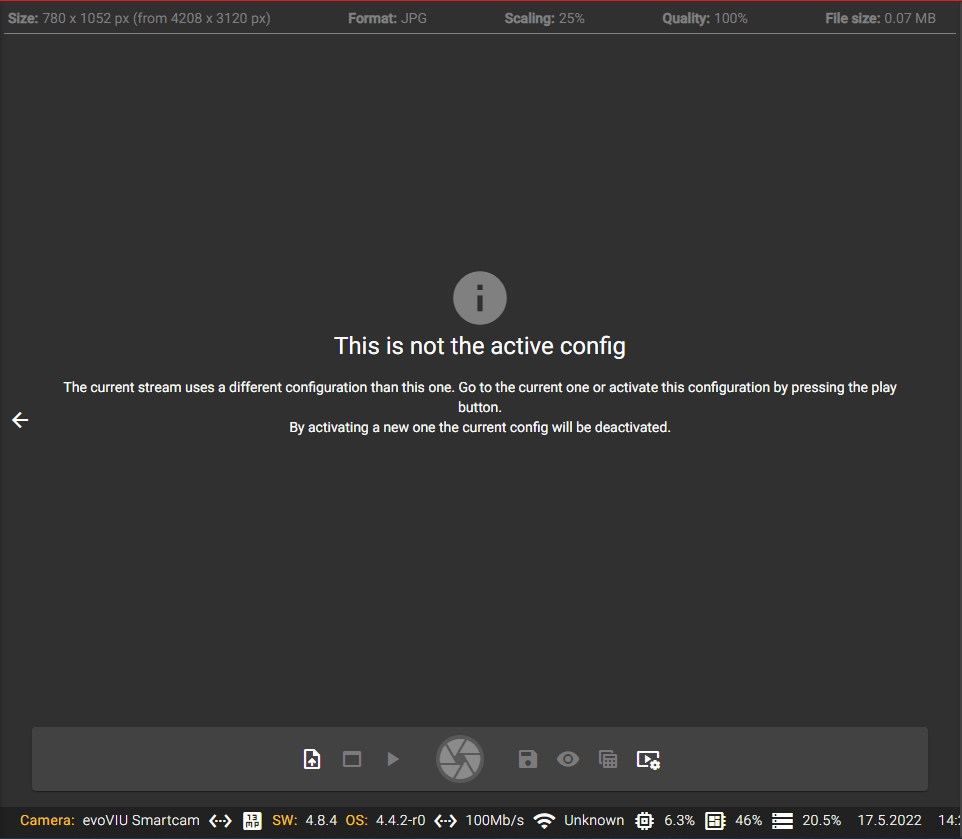
The Custom Routine Stream Area consists of the Image Source stream, the Control Bar and the Configuration Bar. When you start the custom routine, it may say here – as shown in the screenshot – that you are not in the active configuration. This means that another stream is currently active. However, once you want to start the routine, you only need to specify that you want to activate this routine.
When a custom routine is initially opened, the stream is inactive by default. In addition, before you can make settings and perform actions, you must select an image source that has already been created in the Configuration Bar under Image Source.

2. stream control bar


To start a stream, click on the play button. This is only possible if you have already selected an image source in the Configuration Bar.
By clicking on the Pause button, you can stop the stream again.


With the Upload arrow on the left side of the Control Bar you can upload a reference image. You only need this function for the Weld Seam Inspection and the Barcode Routine.
This icon is also only relevant for the Weld Seam Inspection and the Barcode Routine. This button is the teaching mode button. Turning on and off either displays or hides the reference image. If the teaching mode is activated, you can place the search region (grey) and the model region (white) in an area of your choice to train the model.


When you are in manual image capture mode, you can use the middle button to capture your image. In the other image capture modes, this button is grayed out.
With the eye button you can set whether you want to see the result image or not.


With the icon you can show the results table.
This icon shows you the current state of rotation or mirroring of your image.


