evoVIU Dokumentation
-
Hardware
-
-
- Articles coming soon
-
-
-
Software
-
- Articles coming soon
-
- Articles coming soon
-
- Articles coming soon
-
- Articles coming soon
-
- Articles coming soon
-
- Articles coming soon
-
-
Introduction
-
General & Safety
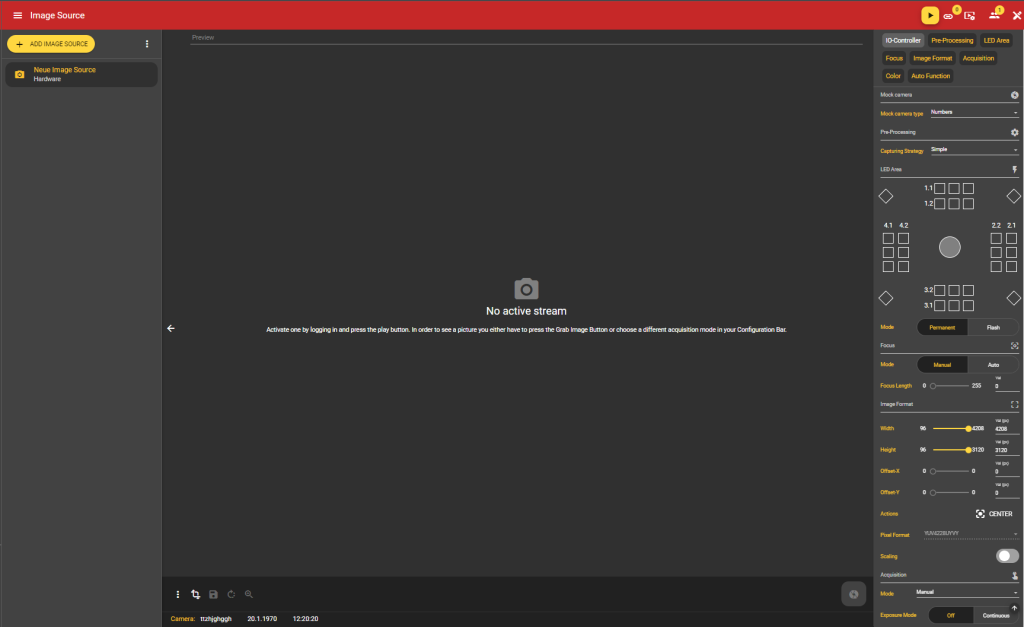
In this chapter you will learn what steps it takes to create an image source. In the menu item Image Source you can capture your image and make all necessary settings for further processing.
You must be logged in to create an image source.
1. select menu item
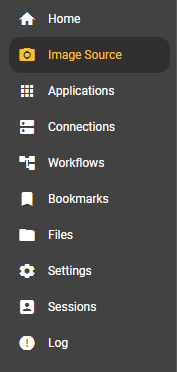
Go to the Image Source menu item and select it.
2. new image source
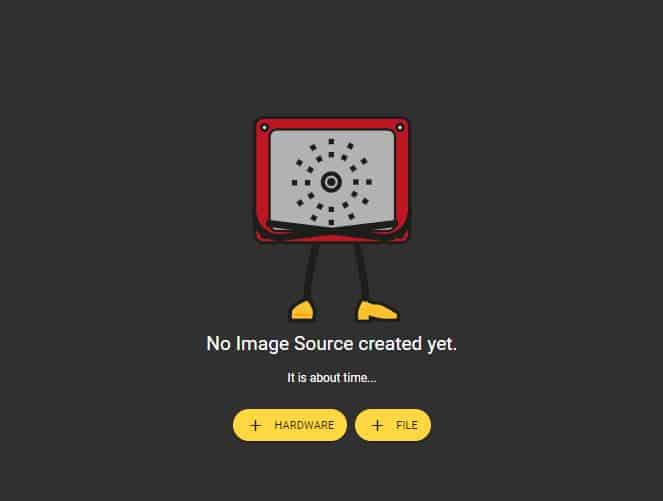
If you have not yet added an image source, you can use the buttons to add either a hardware or a file image source.
If you have already created an image source, you will land on the overview page. Here you can add a new image source using the “Add Image Source” button.

3. naming the new image source
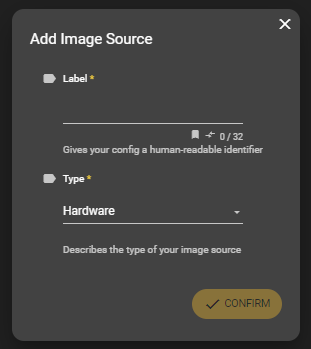
A dialog box appears. Here you can give your image source a label and select one of the types Hardware or File. Clicking the Confirm button will create your new image source.
4. new image source
Your created image source with your chosen label now appears in the left column. Click on the image source to select it and the Image Source Stream Area and Configuration Bar will appear.