evoVIU Dokumentation
-
Hardware
-
-
- Articles coming soon
-
-
-
Software
-
- Articles coming soon
-
- Articles coming soon
-
- Articles coming soon
-
- Articles coming soon
-
- Articles coming soon
-
- Articles coming soon
-
-
Introduction
-
General & Safety
In this chapter you will learn all about the basics of the workflow.
1. creating a workflow
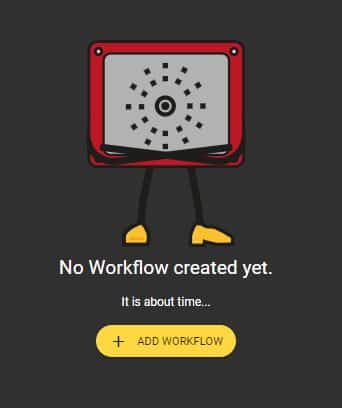
If you click on the Workflows menu item, you will land on the Overview page. If you have not created a workflow yet, you can use the Add Workflow button to create your first workflow.
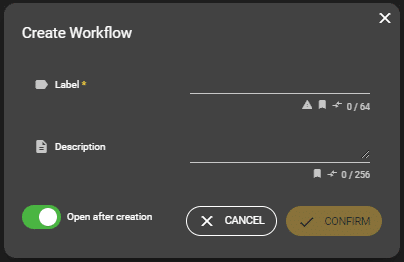
If you have already created a workflow, you will also find the Add Workflow button on this overview page. Clicking this one will take you to another page.


Here you have the choice to either create a new workflow or upload an already created one. You also have the possibility to create templates here. These workflows already contain the first important nodes and settings.
Once the Create Workflow dialog opens, give your workflow a label and optionally describe what the workflow is needed for. Click on Confirm to create the workflow.
You will land on the overview page of the workflow logic. This is divided into a wide variety of areas.

Results
In the Results tab, after activating the workflow, the various nodes are run through and the respective inputs and outputs are shown.
Libraries
Under the item Libraries you will find the entire node library. The nodes are divided into different categories.
Visualization
In the Visualization sector, the individual nodes are assembled into a workflow.
Details
When a workflow is running, various details are listed here that match the process in question.
Workflow Settings
Further general settings for the workflow can be made here.
Reference Image
A reference image can be added in this tab.
Node Settings
This tab displays the settings of a node. The settings vary from node to node.
Node Inputs
Under Node Inputs is listed which inputs the node expects. Here you can also delete connections to other nodes.
ROI
Here you can set the Region of Interest of an image.
