evoVIU Dokumentation
-
Hardware
-
-
- Articles coming soon
-
-
-
Software
-
- Articles coming soon
-
- Articles coming soon
-
- Articles coming soon
-
- Articles coming soon
-
- Articles coming soon
-
- Articles coming soon
-
-
Introduction
-
General & Safety
In this chapter you will read everything about the Loxi2-X light module.
1. Overview
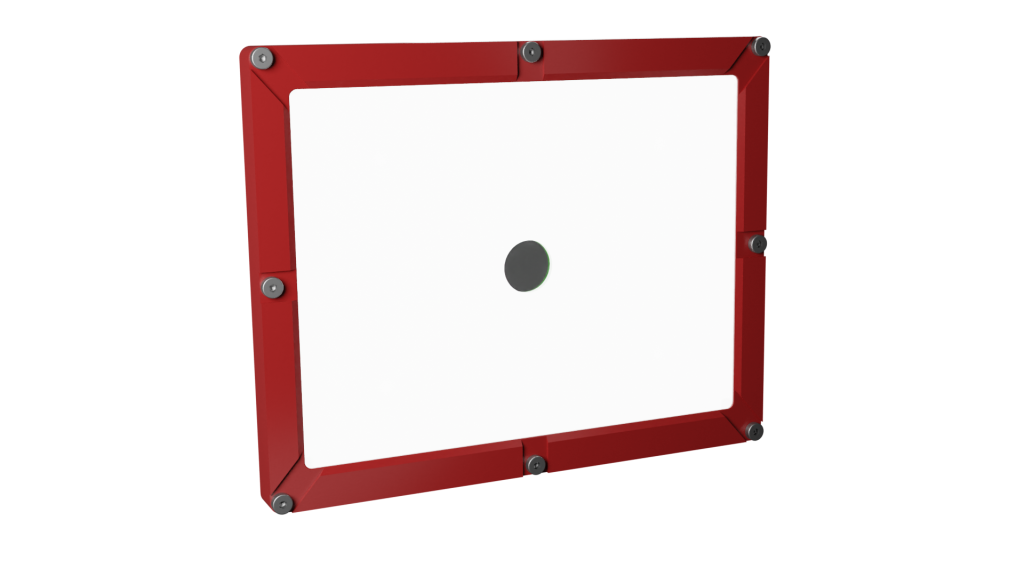
The Loxi3-X light module belongs to the class of direct, external lighting.
The light module consists of 8 segments with 5 LEDs each. The light module thus has a total of 120 LEDs. These can be individually controlled in a total of 24 different areas around the diffuser plate to create light hotspots.
Different diffuser plates are inserted into the central part of the lighting to optimise the refraction of the light. A center ring provides shielding for the S-mount lens.
The diffuse illumination provides an overall homogeneous illumination of the area and can be used especially for metallic surfaces, barcodes and label recognition.
Laser markings and engravings in particular can be optimally read out on metallic surfaces with the Loxi3.
2. Main Features
- Diffuse light module
- Light area: 134mm x 101mm
- Individual setting for each area consisting of 5 LEDs
- Up to 8 brightness levels for each individual LED area
3. Areas of Application
- Metallic surfaces
- Organic surfaces
- Barcodes
- Labels
- Field of view areas
4. color coding
- -W| White (4000K)
5. Exchange
The light module may only be replaced by a trained specialist and only when it is switched off.
- Shut down the system via the web interface.
- Switch off the power supply of the evoVIU.
- Open the four screws on the front of the evoVIU housing.
- Open the four screws of the Loxi1-X light module.
- Remove the circuit board and place the replacement circuit board in the camera.
- First screw the two screws on the front docker side and make sure that the module is lying straight on the holding surface and the contacts before doing so.
- Now tighten the two remaining screws of the module.
- Screw the front panel back onto the camera.
- Turn on the power supply to the camera.
- If the LEDs flash within the next 30 seconds, you can use the new module.
If you see a light sequence twice within the next 30 seconds, the Loxi module has been detected by the system.
If you do not see a light sequence, then check the setup again. In a few cases, a spring contact may not contact the board properly. If you still have problems, please contact our support.
You want to change from Loxi3 to the smaller Loxi modules? Please contact us in the support area.
6. Variant Number
XXXXX-XXX-L3-W | L3-W: White
