evoVIU Dokumentation
-
Hardware
-
-
- Articles coming soon
-
-
-
Software
-
- Articles coming soon
-
- Articles coming soon
-
- Articles coming soon
-
- Articles coming soon
-
- Articles coming soon
-
- Articles coming soon
-
-
Introduction
-
General & Safety
In this chapter you will learn which settings you can make when you initially start the web application. The setup wizard supports you!
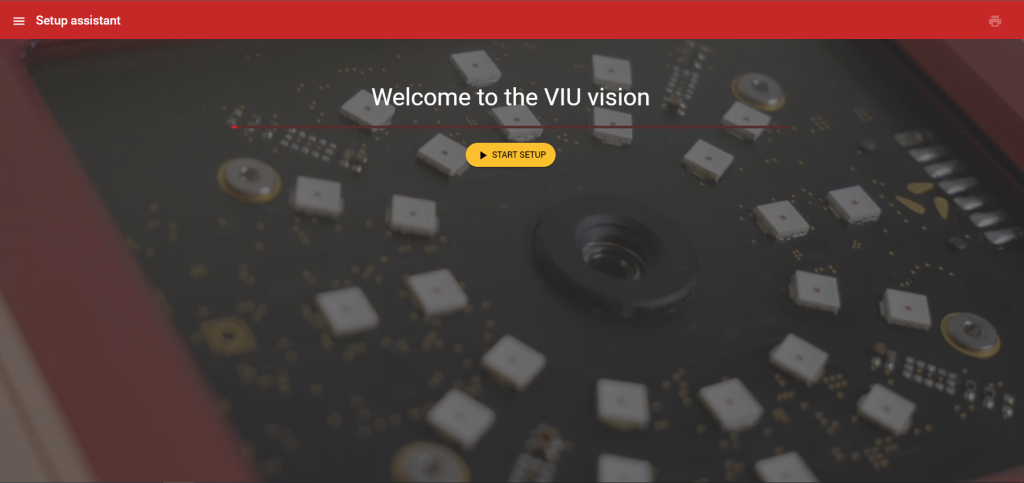
You will land on the Setup Wizard when you first access your camera. All settings you make here can be changed afterwards in the settings. To start the wizard, click Start Setup.
1. general information
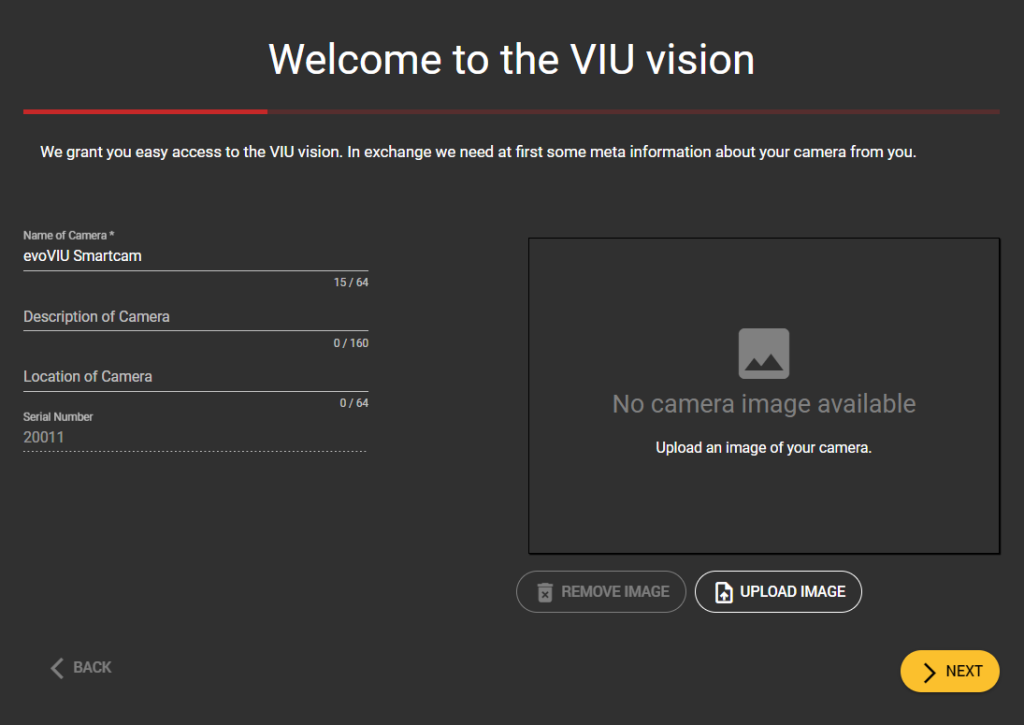
On the first page of the setup wizard you can enter information about your camera. Enter a name, Description and location. You can also upload a photo of your camera. If you have multiple cameras installed, this will make it easier for you to assign them.
Check the displayed serial number with the serial number of the camera. If you notice a difference, please feel free to contact us.
2. information about Ethernet settings
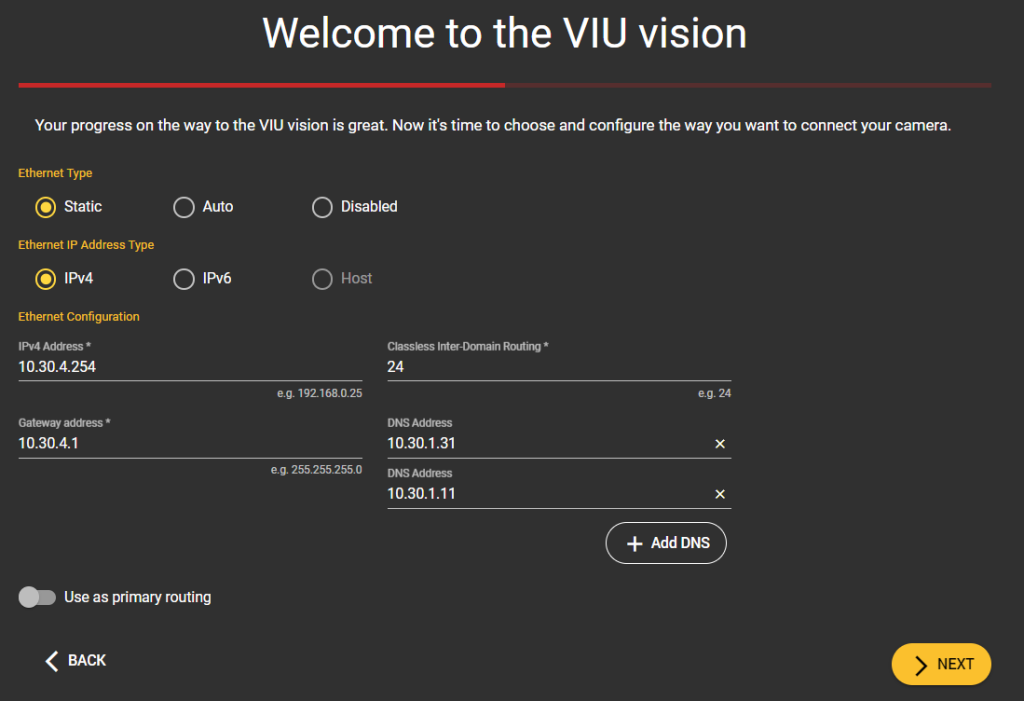
On the next page you can enter information about your Ethernet connection. In order to control your camera, it must be connected to either Ethernet, WiFi, or both. You can choose what is more suitable for you. The connection via Ethernet is recommended in most cases, as the connection is usually more stable and faster.
Decide whether you want to assign an IP address manually or whether it should be assigned to you automatically. In the second case, select Auto and go to the next step.
Otherwise, specify which address type your Ethernet IP has. You can also enter additional data about your Ethernet configuration in the placeholders.
Before you go to the next page, you can still select whether you want to choose Ethernet as your preferred connection type. If this is the case, activate the checkbox Use as primary routing.
Please talk to your IT department about the correct configuration of the camera to avoid subsequent errors.
2. details of Wi-Fi settings
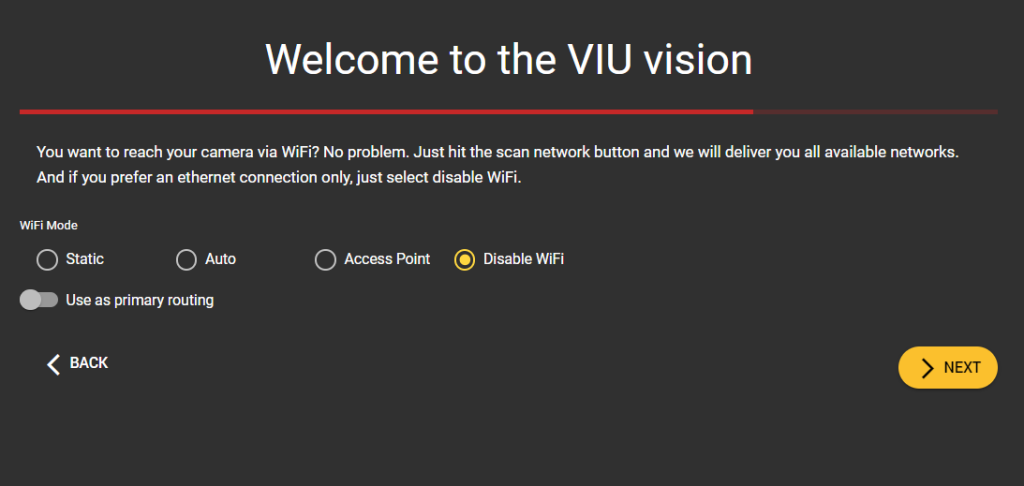
The details of your WLAN connection follow on this page. First select a mode. You can either manually enter your connection details as in the previous step, automatically search for a WLAN network, set up your camera as an access point or deactivate the WLAN function completely.
Enter the required data in the following subitems depending on the mode.
Finally, you can also choose here whether you want to have WLAN as your preferred connection. If this is the case, activate the Use as primary routing checkbox.
3. finalize setup
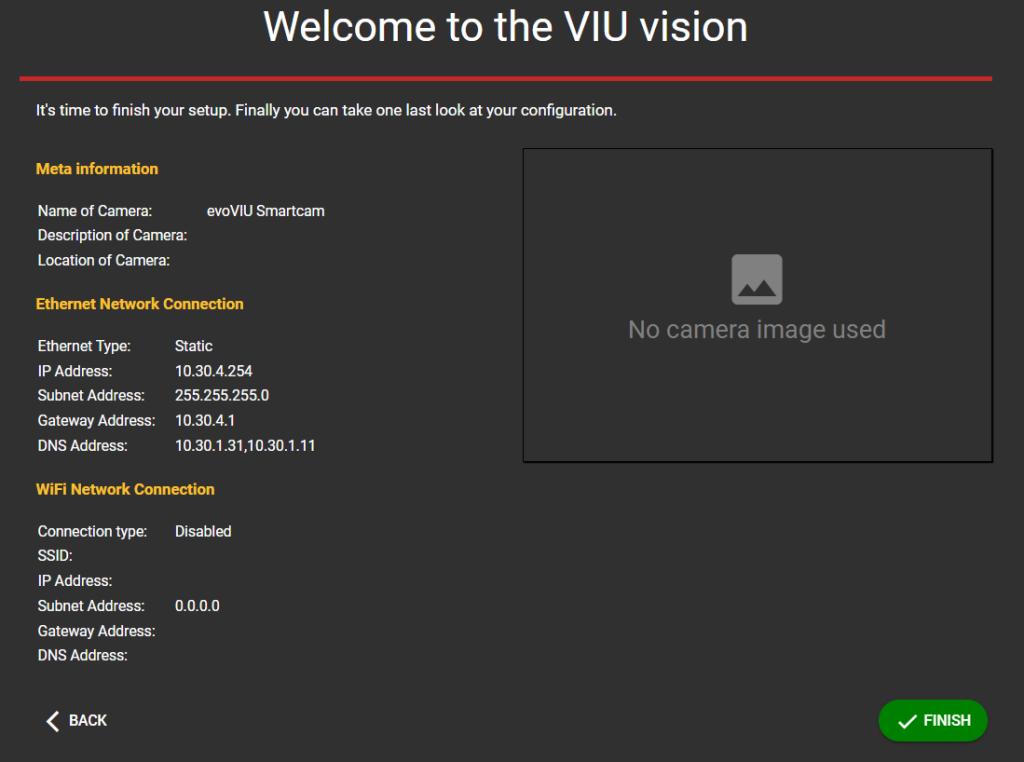
Before you complete the setup, you can review your entries. If you notice an incorrect entry, you can use the Back button to jump back to the previous pages and adjust your entries.
Clicking on the green Finish button will take you to the web interface of your camera.
